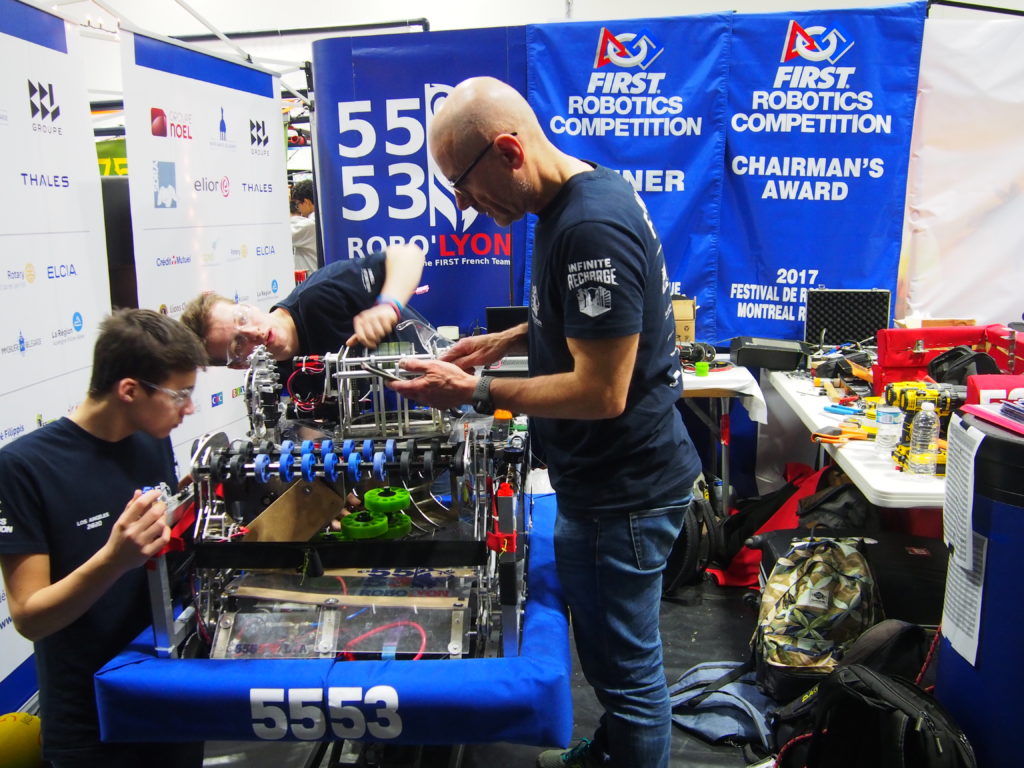
With the removal of the stop build day we have much less build time than other teams.
We participate in the regional of Los Angeles in week 2 but we have to send the robot 2 weeks before.
So we have to build the robot in 5 weeks instead of 8.
To prepare everyone, we made a white kick-off two weeks before the real kick-off. The steps were well mastered on D-day:
- Watch the video
- Analysis of the specifications in small groups
- Prioritization of the season’s objectives
Prioritizing our 2020 objectives
- Throwing balls in the outer port, then in the inner port
- Collecting balls on the field
- Store 5 bales at the same time
- Hanging on to the “Sheild generator”.
- To be able to pass under the tunnel
- Handling the control panel (course 1 and course 2)
La conception des mécanismes
- Throwing balls in the outer port, then in the inner port
This objective follows an iteration process: one seeks to throw a ball, then to throw it into the bottom port, then into the outer port, then into the inner port.
Shooter
We immediately turned to a shooter with an inertia wheel.
One of its advantages is that the ball flies by turning on itself: the trajectory is therefore more precise.
The axis is powered by two 775 Pro engines.
Removable shutter
It is motorized by a bag. It has been added to control the angle of fire.
Turret
It is also motorized by a bag.
The two mobile plates rotate on either side of the stationary plate thanks to bearings placed inside.
A transmission chain drives these two plates.
1: Pick up the balls on the field
Intake
We prototyped the first intake with two rows of red AndyMark 2″ wheels driven by a 775 Pro engine.
We had to do many tests to find the right distance to the bumpers.
As no mechanism should protrude from the peripheral frame before the start of the match, a retractable intake is required.
So we decided to rotate it using a jack.
Unfortunately the first tests were not conclusive: too much pressure + points of weakness on the intake arms = huge
Unfortunately the first tests were not conclusive: too much pressure + points of weakness on the intake arms = huge failure.
After a lot of tests on the placement of the jacks and a reinforcement of the arms, we managed to rotate the intake.
On the 1st video Juliane helps her a little… But we limited her stroke afterwards and everything went better…
3 : Store 5 balls at the same time
Conveyor
We prototyped a conveyor with a belt system on the outside and rollers on the inside to guide the bale.
Prototype 1: The bales were well driven by the belts, but they could not stop when the conveyor was full (they kept going in and crashed at the bottom).
Prototype 2: The belts were replaced by fabric and moved inside.
The rollers were moved outside.
But the conveyor took up too much space on the robot and did not allow to store enough bales.
We are currently working on a version 3 which will be much simpler: the balls are routed to the shooter thanks to a slight slope.
It has a triangular shape that allows only one ball to pass at a time.
A wheel placed on the side brings the balls one by one into the feeder.
Feeder
He catches the balls sideways and takes them up into the turret.
The fact that the two rows of wheels rotate in different directions allows the bale to climb up without rotating.
4: hang on to the “Shield generator”
To mount a hook, we have prototyped a telescopic arm and a system of crossbars.
We retained the arm because it is more compact.
It brings the hook on the bar and then it goes down and the robot goes up thanks to a winch.
Telescopic arm
The telescopic arm rises thanks to a system of cascading ropes.
We prototyped it with four metal profiles of different widths, but we had problems with the friction of the wire against the profiles.
Also when it was unfolded, the arm tilted because of the gaps between the profiles.
So we printed 3D parts to guide the wire and to fill the gap between the profiles.
Hook
The hook has two sides to facilitate the pilot’s work, it can be positioned on either side of the scale.
Both ends bend when placed on the bar to limit the height of the arm on the robot (and not exceed 70 cm).
This also makes positioning on the bar easier because the horizontal surface is larger.
Winch
Four ropes start from the hook and wrap around the winch.
It rotates with two sims and a reduction of about 37.
Hook on the robot
We chose to hang the ropes at the four corners of the robot so that it is stable during its ascent (important not to exceed 30cm from the peripheral frame).
5 : To be able to pass under the tunnel
Despite the positioning of this target in 5th position, we believe that going under the trench can make a decisive difference in speed.
We therefore chose to design the robot within the 70cm height limit.
6 : manipulate the control panel (level 1 and level 2)
The control panel manipulator is composed of an axis around which 4 wheels of 2″ are attached.
The axis rotates thanks to a bag motor.
The control panel manipulator is retracted and unfolded by means of a servo-motor.